A great piercing should feel like a confidence boost, not a biology experiment. This body piercing safety guide cuts through the bad advice, sketchy shortcuts, and social-media myths so you can get pierced with a clear plan and heal without unnecessary drama.
The quick version: choose a professional studio, wear quality jewelry, follow simple aftercare, and give your body the time it asks for. Piercings are small, but they are still healing wounds. Treat them with the same respect you’d give any fresh body art.
Body Piercing Safety Guide: Start With the Studio
The safest piercing starts before anyone opens a needle package. A professional studio should feel clean, organized, and calm – not like it is scrambling to find supplies while you sit in the chair.
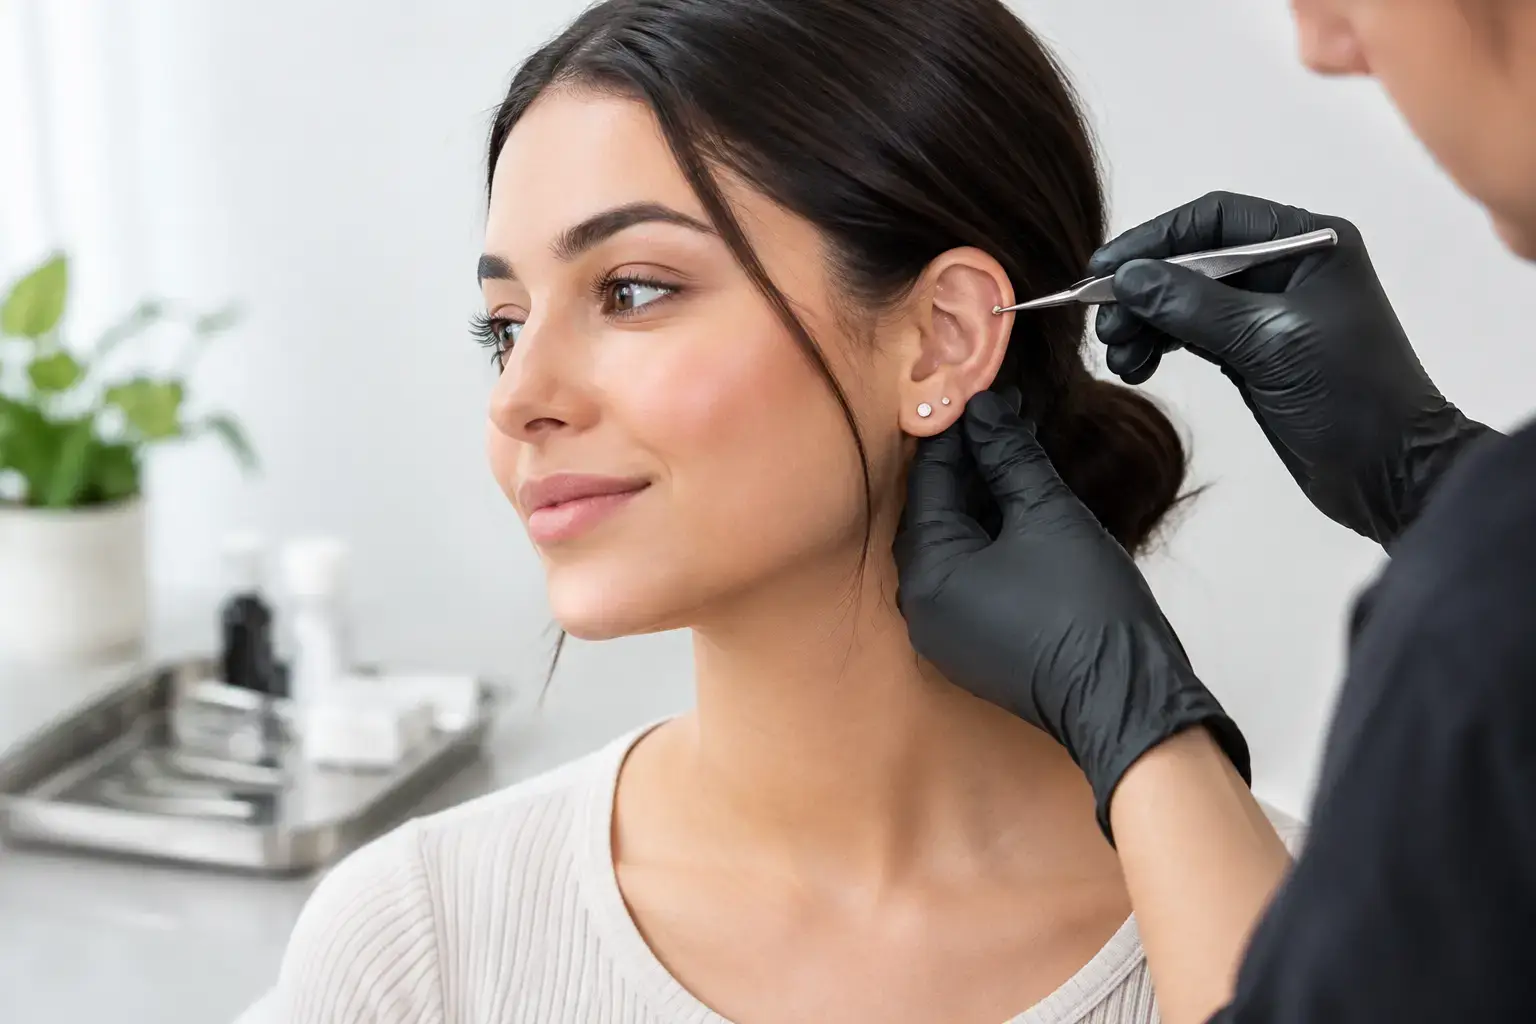
Your piercer should wash their hands, wear fresh gloves, use a new single-use sterile needle, and open sterile equipment in front of you. Needles are never reused. Piercing guns are not appropriate for most body piercings because they use blunt force, can damage tissue, and are difficult to sterilize properly. A sterile needle gives an experienced piercer better control over placement and is much kinder to your tissue.
Take a look around. Work surfaces should be disinfected between clients, jewelry should be handled properly, and the setup should look intentional. You are allowed to ask how equipment is sterilized, what jewelry material is being used, and how your piercer handles aftercare. A real pro will answer without getting defensive.
Experience matters, but communication matters too. Your anatomy, lifestyle, and desired placement all affect whether a piercing is a good fit. A reputable piercer may suggest a different placement, jewelry style, or timing if your original plan is likely to cause problems. That is not a buzzkill. That is someone protecting your result.
Choose Jewelry That Lets Your Body Heal
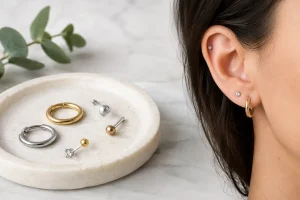
Cheap mystery metal can turn a fresh piercing into an itchy, swollen mess. Your starter jewelry should be made from body-safe material and sized for early swelling. Implant-grade titanium is a favorite for good reason: it is lightweight, durable, and generally a strong option for people sensitive to nickel. Niobium, solid 14k or higher gold that is nickel-free, and certain implant-grade stainless steels can also work depending on your needs.
Ask what the jewelry is made of instead of accepting vague labels like “surgical steel.” Material quality is not the only issue. The post, ring, or bar needs enough room for swelling without being so loose that it catches on everything. Threadless or internally threaded jewelry is usually preferable to externally threaded pieces, which can scrape the healing channel during insertion or removal.
Do not bring random jewelry from home for a fresh piercing. Even if it looks clean, its metal content, finish, and size may not be right for healing. The starter piece is not always your forever look. Think of it as the practical gear that gets you safely to the fun part.
Come In Ready, Not Wrecked
Eat a real meal a few hours before your appointment and drink water. Low blood sugar, dehydration, and nerves can make dizziness more likely, especially for first-time clients. Wear clean, comfortable clothing that gives your piercer easy access to the area without putting pressure on it afterward.
Skip alcohol and recreational substances before your appointment. They can affect judgment, increase bleeding, and make it harder for you to follow through on aftercare. If you take prescription medication or have a condition that affects healing, bleeding, immunity, or skin integrity, speak with your medical provider before getting pierced. Your piercer needs an honest health history to make safer recommendations, not a polished version of one.
Timing is worth thinking about, too. A new navel piercing right before a beach vacation, a fresh cartilage piercing before a season of helmet use, or a nipple piercing before a high-contact sport can be rough. You do not need to put your life on hold, but you do need a plan for friction, sweat, sleep, and accidental bumps.
The Aftercare That Actually Helps
Fresh piercings do best with boring, consistent care. Your job is not to scrub, twist, soak, or constantly inspect it. Your job is to keep your hands off it, keep it reasonably clean, and let your body do the work.
Wash your hands before touching the area for any reason. Use sterile saline wound wash as directed by your piercer, then gently pat dry with a clean disposable paper product. Warm water in the shower can help loosen normal crusting, but do not pick at it. Crusting is common during healing. Ripping it off can irritate the channel and restart the cycle.
Avoid alcohol, hydrogen peroxide, antibiotic ointments, harsh soaps, tea tree oil, and homemade salt mixes unless a qualified medical professional specifically tells you otherwise. These products are often too aggressive, too inconsistent, or too heavy for a healing piercing. More cleaning does not mean better healing. Over-cleaning can leave tissue dry, angry, and slow to settle down.
Leave the jewelry in place. Do not rotate it, slide it around, or change it early because you are bored with the look. Movement creates irritation inside the piercing, where you cannot see it. If the jewelry seems too tight, starts embedding, or has a damaged part, see a professional piercer promptly rather than trying to fix it yourself.
Protect Your Piercing From Everyday Chaos
Most piercing trouble comes from pressure, friction, and dirty hands – not from some mysterious curse. Be mindful of what contacts the area all day.
For ear piercings, avoid sleeping directly on the fresh side. A travel pillow can keep pressure off cartilage while you sleep. Clean headphones, glasses, helmets, phone screens, and anything else that regularly touches the area. Hair, hats, and masks can snag jewelry, so move slowly when getting dressed.
For oral piercings, follow your piercer’s specific instructions and pay attention to swelling. Stick to foods that feel manageable, avoid playing with the jewelry, and schedule a downsize when swelling has settled. Long starter bars left in too long can increase the chances of tooth or gum damage.
For navel, nipple, surface, and dermal piercings, clothing choices matter. Tight waistbands, rough towels, sports bras, seatbelts, and workout gear can all create pressure. Choose softer, cleaner layers when possible. If a workout causes repeated rubbing, modify it temporarily. Badass art and body jewelry are worth protecting, but nobody gets bonus points for powering through obvious irritation.
Swimming needs extra caution. Lakes, pools, hot tubs, and oceans contain bacteria and other irritants, and a fresh piercing is an easy entry point. Avoid submerging it while it is healing when you can. If you cannot avoid water exposure, talk with your piercer first about practical ways to lower the risk.
Normal Healing vs. a Problem That Needs Help
Redness, mild tenderness, light swelling, clear or pale yellow fluid, and some crusting can all be normal early on. Healing also has good days and bad days. A piercing may look settled, then act irritated after getting snagged, slept on, or bumped. That does not automatically mean infection.
What deserves attention is worsening pain, spreading redness, significant heat, thick foul-smelling discharge, fever, red streaks, or swelling that makes jewelry feel dangerously tight. Seek medical care for those symptoms, especially if you feel sick. Do not remove jewelry on your own if you suspect infection unless a medical professional tells you to do so. Closing the surface can trap infection inside.
For less urgent issues like persistent bumps, migration, irritation, or fit concerns, see a qualified piercer. Sometimes the solution is a jewelry downsize, a material change, or an honest conversation about whether the placement is viable for your anatomy. It depends on the piercing and what is causing the irritation. Guessing with internet remedies usually makes the situation louder, not better.
Healing Takes Longer Than Your Mirror Suggests
One of the biggest safety mistakes is assuming a piercing is healed because it no longer hurts. Surface tissue can look great while the inside is still fragile. Earlobes often heal faster than cartilage, while nostrils, navels, nipples, and many ear cartilage placements can take months or longer to fully settle.
Your piercer should give you a realistic timeline, but your body gets the final vote. Sleep, stress, nutrition, friction, anatomy, and aftercare habits all influence healing. Before changing jewelry, getting another piercing nearby, or retiring a piece, get professional guidance.
At Apocalypse Girl Tattoo, the goal is simple: good vibes, clean technique, quality jewelry, and no drama around asking questions. Pick a piercer who respects your body and your style, then give that fresh piercing the patience it deserves. The best healed look is rarely rushed.